- Jul 23, 2024
Top 5 Cricut Design Space Features for Scrapbookers
- 0 comments
In this post, I share 5 Cricut Design Space features that have completely transformed how I create layouts. We'll explore Templates, ColorSync, Combine, Create Sticker, and Collections to show you how to save time, create stunning designs, and stay organized. Watch the video to see these features in action.
1 - Templates
Templates are great for helping you to visualize your final project. To access them, select the tool in the Design panel to the left of the Canvas. The Templates tool is only available on the desktop version of Design Space.
There are a variety of templates for different types of projects. Select a category to filter the templates, or use the search field to search for a specific template type. I'm going to type "scrapbook" in the search field. Next, I'll click on "Scrapbook layouts."
When you select a template, Design Space will add it to the Canvas screen. An alert will show you that Templates are for reference only and will not be saved with your project.
From there, I can choose the type of layout, size, and color. I can also change the template's visibility by clicking on the eye next to it on the Layers panel.
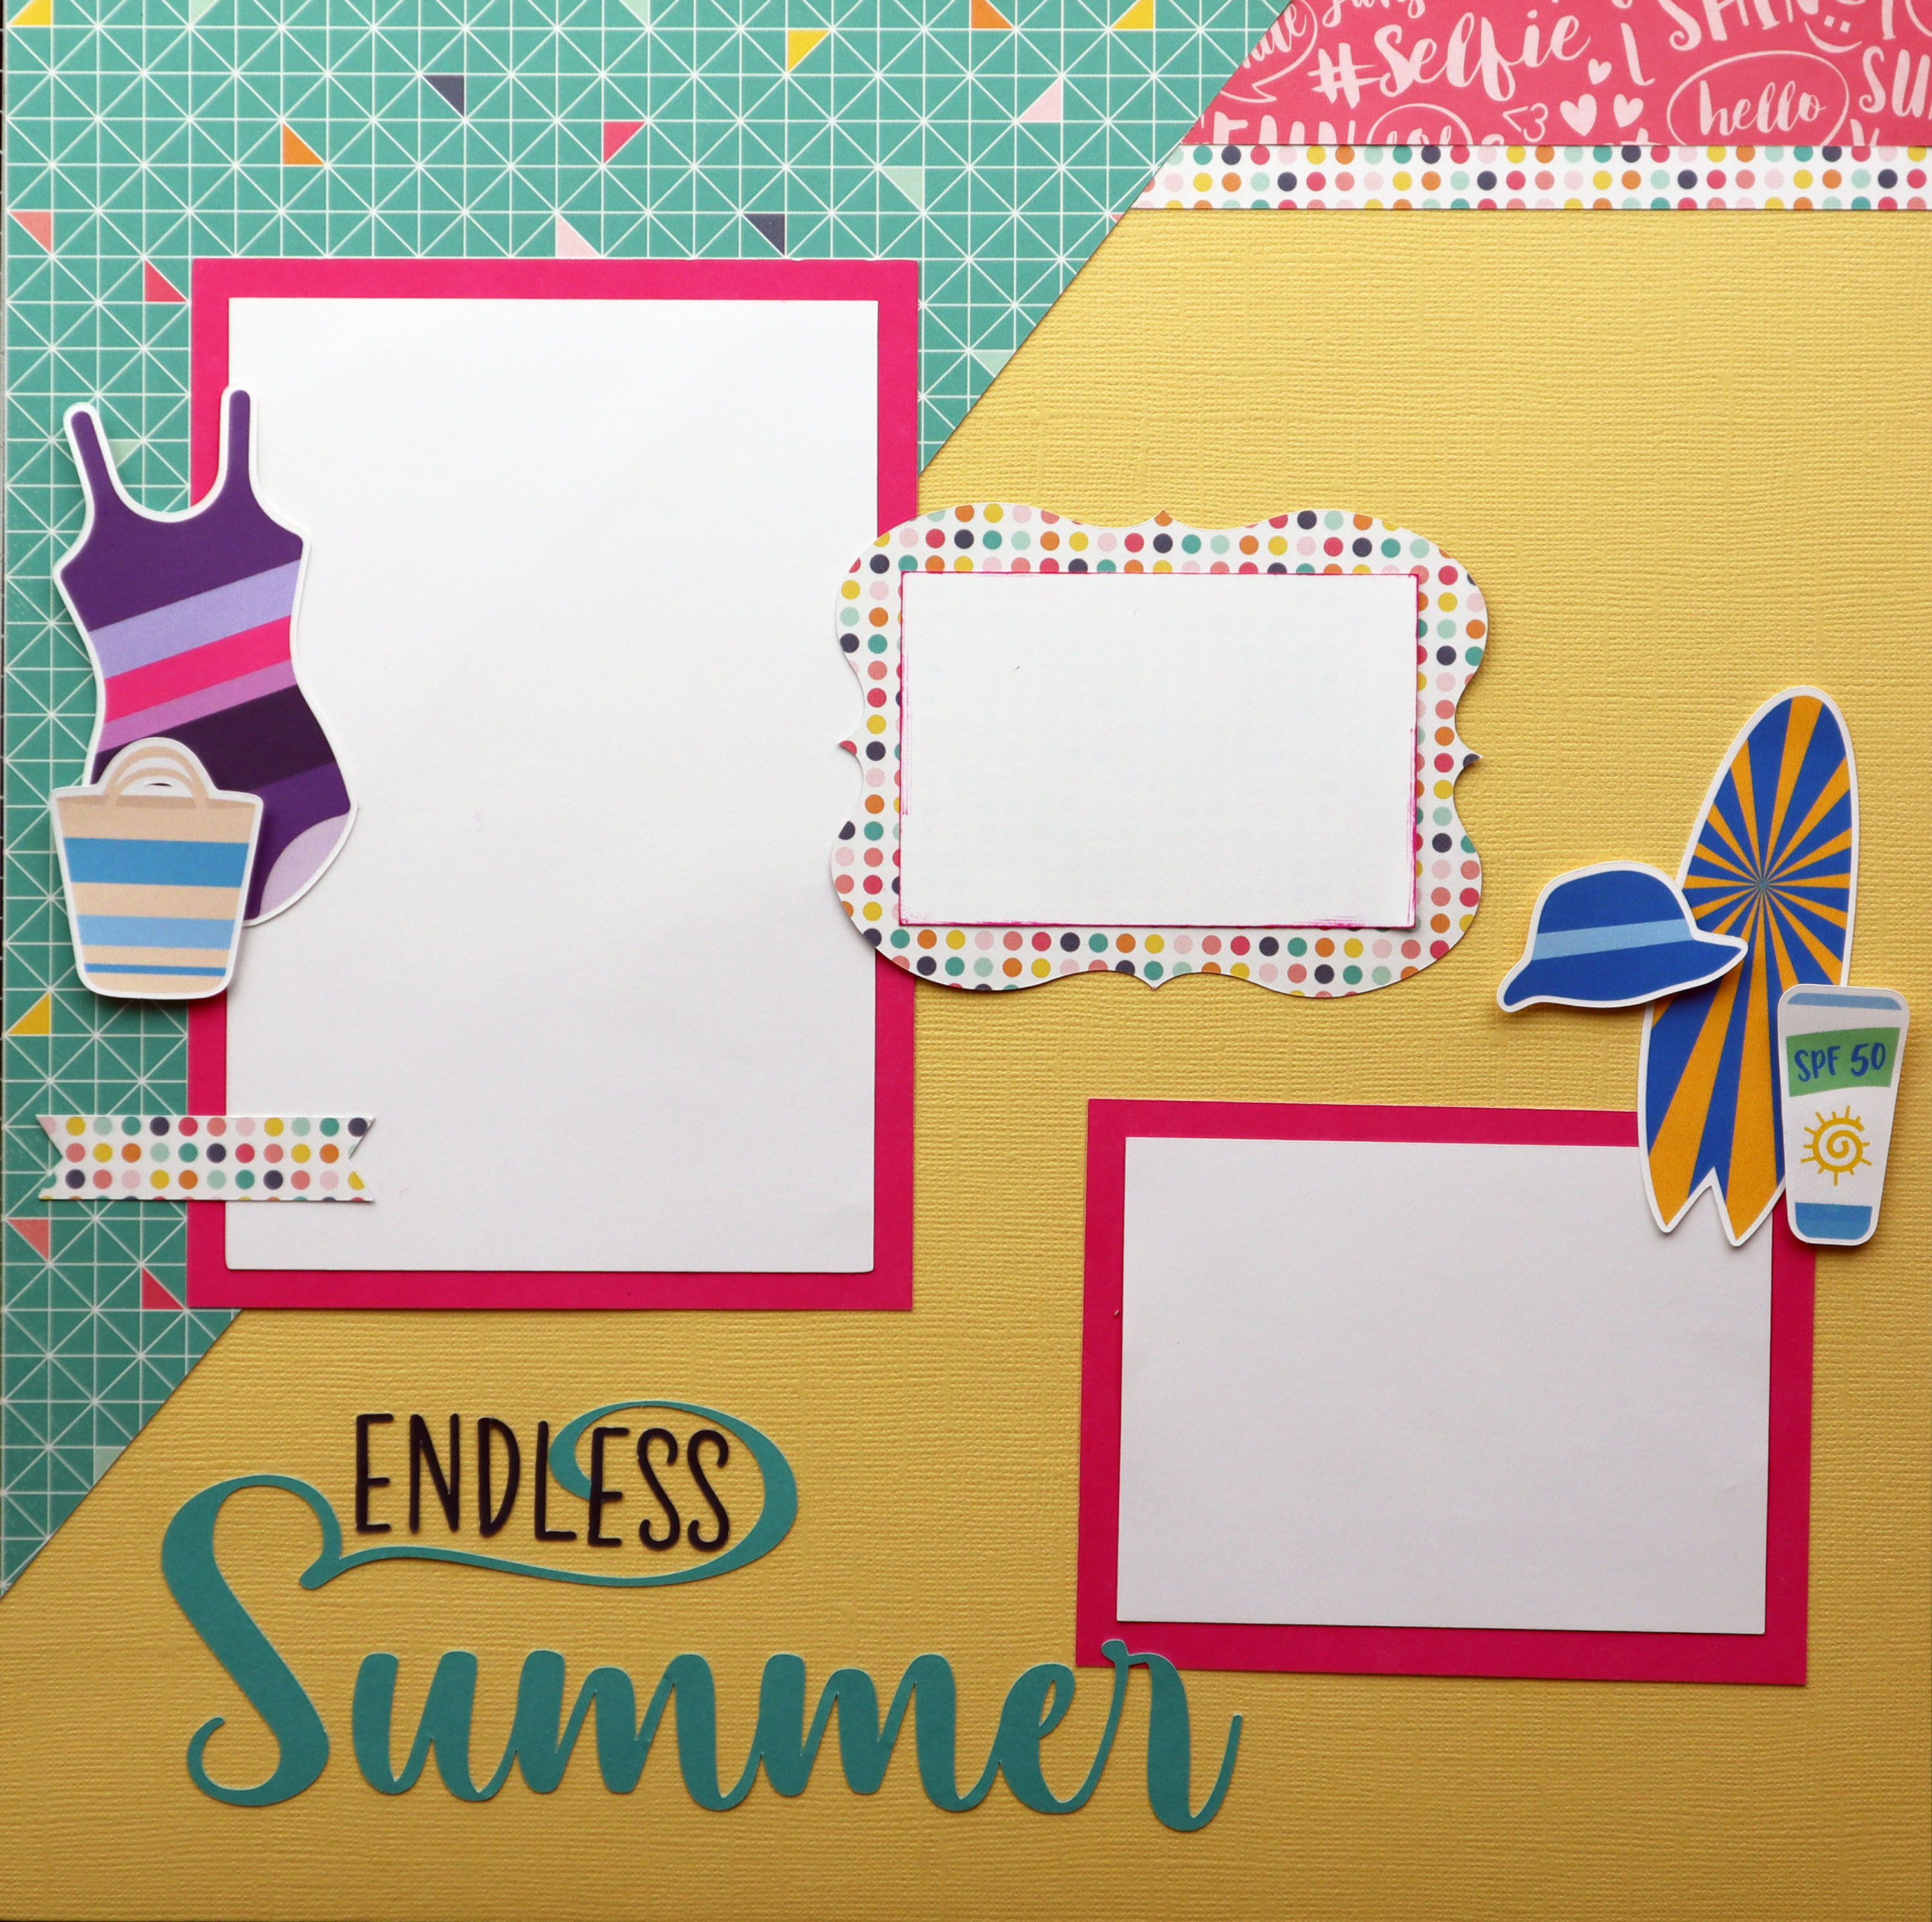
Templates are handy if you work from a scrapbook sketch or pattern. Here, I'm re-creating the sketch layout onto the template. Next, I'll add my images and other elements to create a complete design.
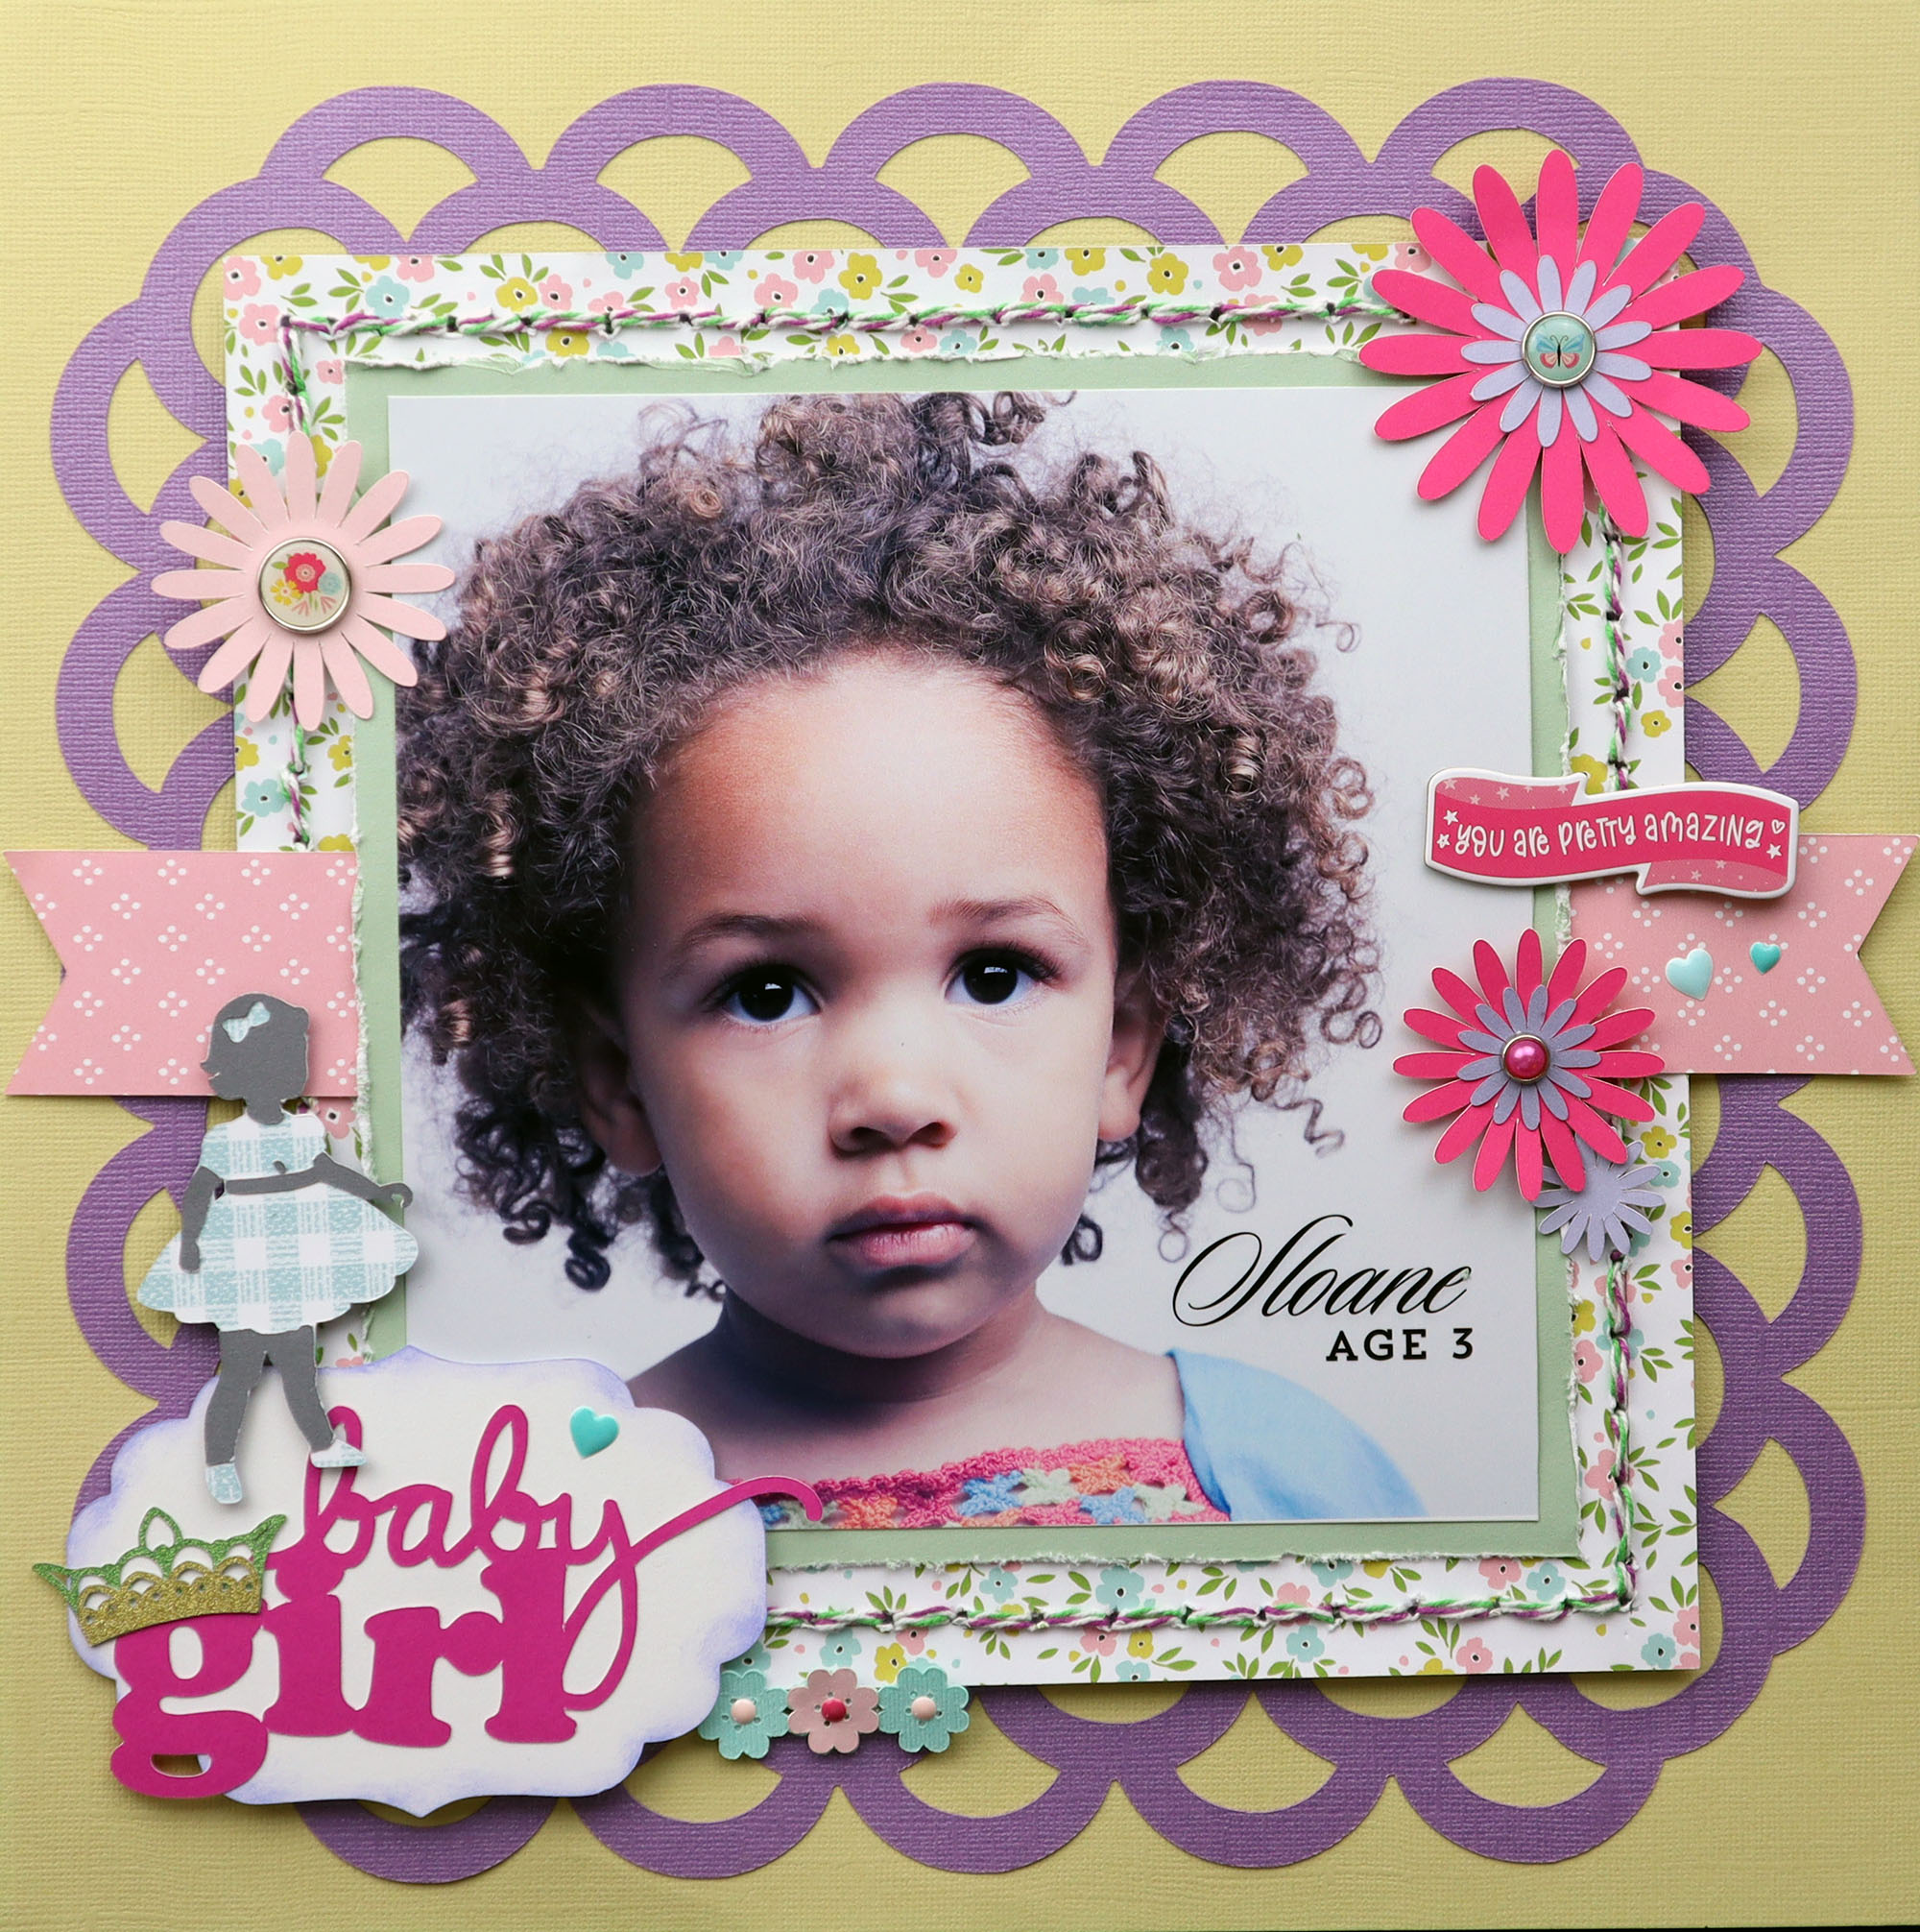
Templates make creating a layout much more straightforward. They allow you to see your design before cutting, which not only saves time but also prevents the waste of paper and cardstock, making your scrapbooking process more efficient.
2 - ColorSync
Another function that can help you manage your paper and cardstock is ColorSync. The ColorSync panel allows you to match or consolidate project colors to reduce the number of mats you use during cutting. How many of you have had projects with 10 or more layers? I have, and managing and cutting all those mats is time-consuming.
When you create your layout in Design Space, you want an idea of the paper for each part of your design. As you review your project, you may see that you don't need four shades of blue, and you can reduce that number to two or fewer.
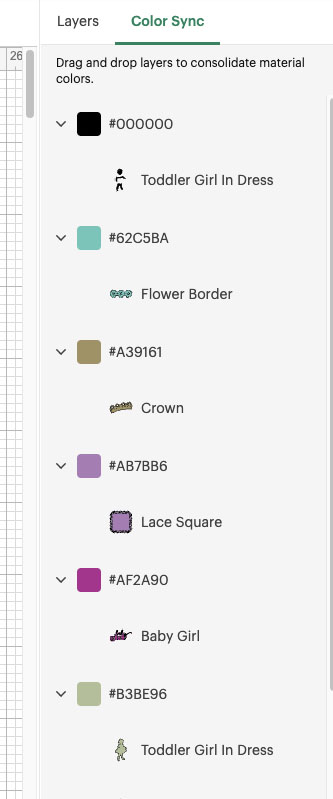
To do this, drag an image layer in the Color Sync panel and drop it on another layer whose color you want to match.
When you're ready to make your project, the Project Review panel will show you fewer layers to cut, saving you time and materials.
I always use this feature because it helps me plan my paper and cardstock usage. ColorSync is also available on the Design Space app, so try it out!
3 - Combine
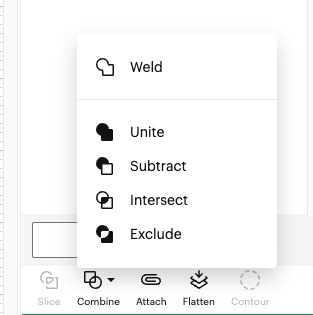
The Combine tool allows you to combine objects in Design Space to make entirely new shapes. The tool comprises the Unite, Subtract, Intersect, and Exclude actions. It keeps all shapes in the group completely editable, so you can still edit or undo it after you've applied one of the actions.
I use the Combine function to create tags, album inserts, or unique shapes and modify an existing image or SVG.
Combine is located at the bottom of the Layers panel on Desktop and in the Actions menu on Mobile. It activates when two or more objects are selected on the Canvas.
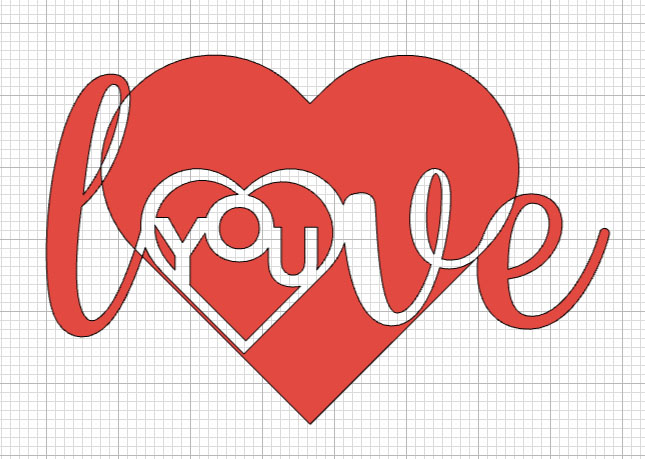
Unite joins two or more shapes together into one new shape.
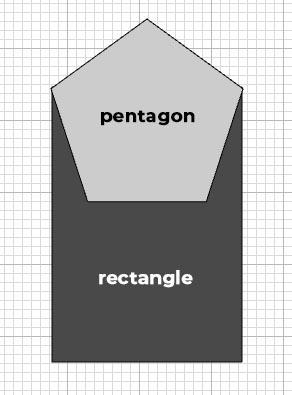
Subtract removes shapes from the last or bottom layer of any selected group of objects. Unlike Slice, you can Subtract multiple objects all at once.
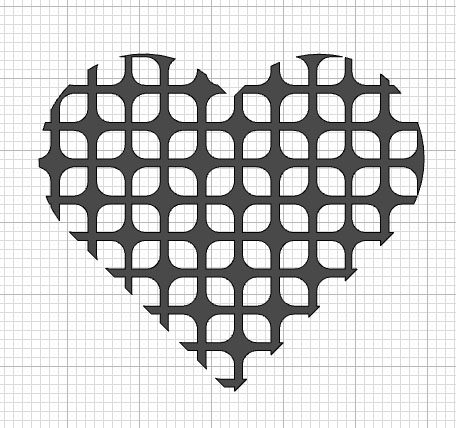
Intersect gives you a new cut shape consisting of only the overlapping parts of two or more shapes.
Exclude gives us a new cut shape consisting of only the non-overlapping parts of two or more shapes. It "excludes" or removes the overlapping sections.
Feel free to experiment with this versatile tool to help you create and customize unique elements for your scrapbook projects.
4 - Create Sticker
Create Sticker automatically makes your sticker design printable, and you can quickly and easily customize the cut result.
Here's a link to a video that explains how it works thoroughly. As of the video's release, it's only available for Cricut Access subscribers on the desktop version of Design Space. However, anyone can preview Create Sticker designs for free, but making them requires a Cricut Access™ subscription.
If you like stickers on your layouts, then Create Sticker is something you'll want to use regularly. I love it!
5 - Collections
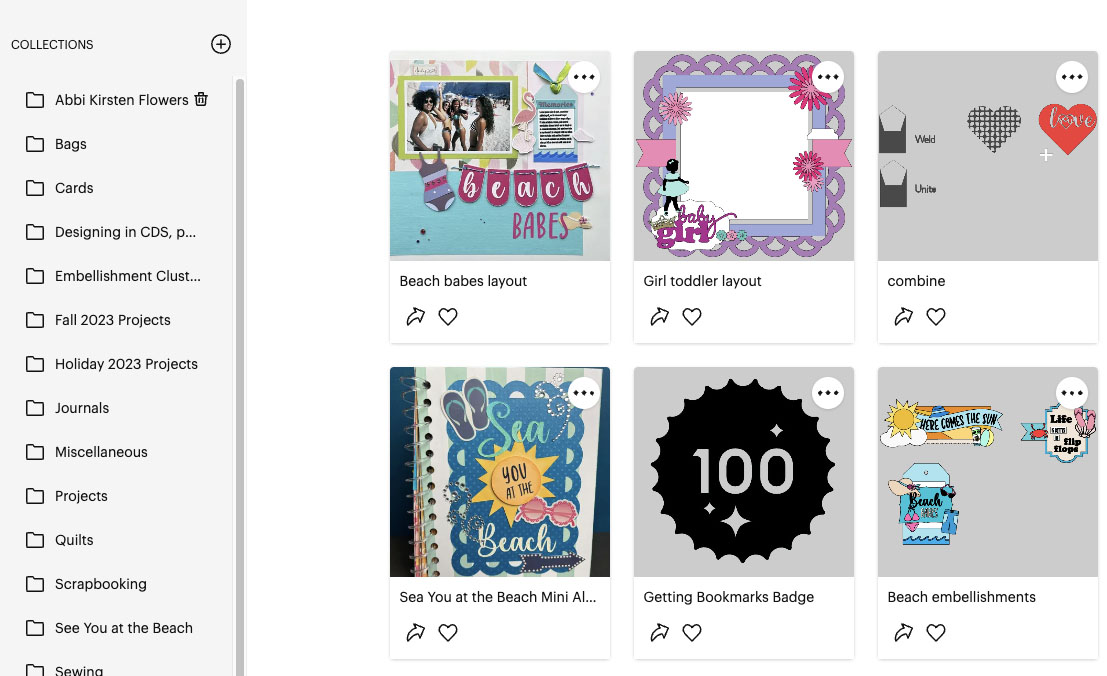
For my fifth essential Design Space tool, I recommend Collections. If you're like me and prefer to keep your stuff organized, then Collections is for you. Note that this feature is only available on the Desktop version of Design Space and requires an internet connection. All Cricut members can create up to 5 free Collections. With a Cricut Access plan, you can create unlimited Collections.
I use Collections to group similar projects together. For example, if I'm working on an album, I may have multiple layouts that I want to keep in separate saves but I want to keep in one group. So I'll create a new Collection, name the Collection the same name as the album, and then put all the layouts in that folder. Maybe you're working on Christmas cards, and you want all of the cards for a specific year in one place. Create a new collection to keep them grouped. The possibilities are up to you, but the result is keeping your stuff organized and easily accessible.
Those are my top five Cricut Design Space functions you should use when scrapbooking. Let me know in the comments what you think about these functions–have you used them, and what were your results? What other functions work for you? Let's discuss!