- Apr 16, 2024
How to Make Embellishment Clusters with Stickers
- 0 comments
Embellishment clusters with stickers are not just a way to add visual interest to your scrapbook layouts; they are a creative expression of your style and a unique touch that sets your scrapbook apart.
Creating embellishment clusters is a simple process that anyone can master. Just follow these easy steps to add a new dimension to your scrapbook layouts.
Steps to Make Embellishment Clusters
Step 1 - Determine where you want your embellishment clusters to go
I like to create my clusters on these parts of my page:
Fill the space in one or two of the four corners - clusters should be on opposite corners (top left-bottom right or bottom-left-top right), and they should be different sizes (large cluster, opposite a small one)
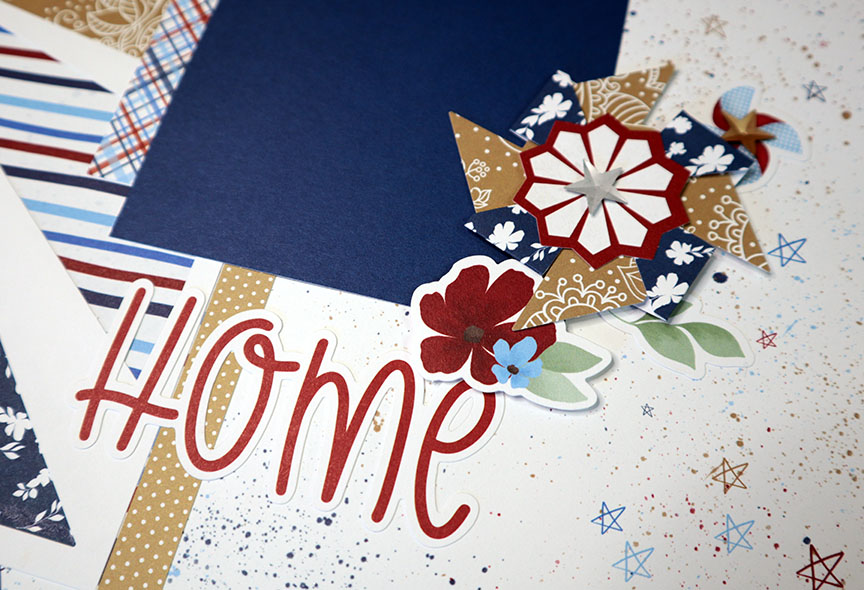
Accent my title or journaling block
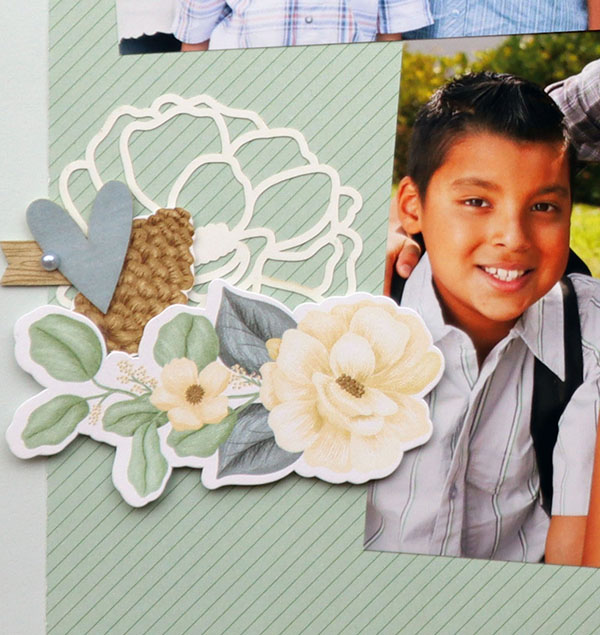
Highlight a specific photo
Step 2 - Select three stickers
Next, choose three stickers that work well in large, medium, and small sizes. You can also do one large and two medium images. There's a design rule called "The Rule of Threes." This guideline says that objects arranged in odd numbers appeal more to the eye. Since odd numbers work best, you could have up to 5, 7, or 9 stickers if you want a larger cluster.
Step 3 - Lay down the large sticker first
Add it to your page, title, or photo following the suggestions in Step 1
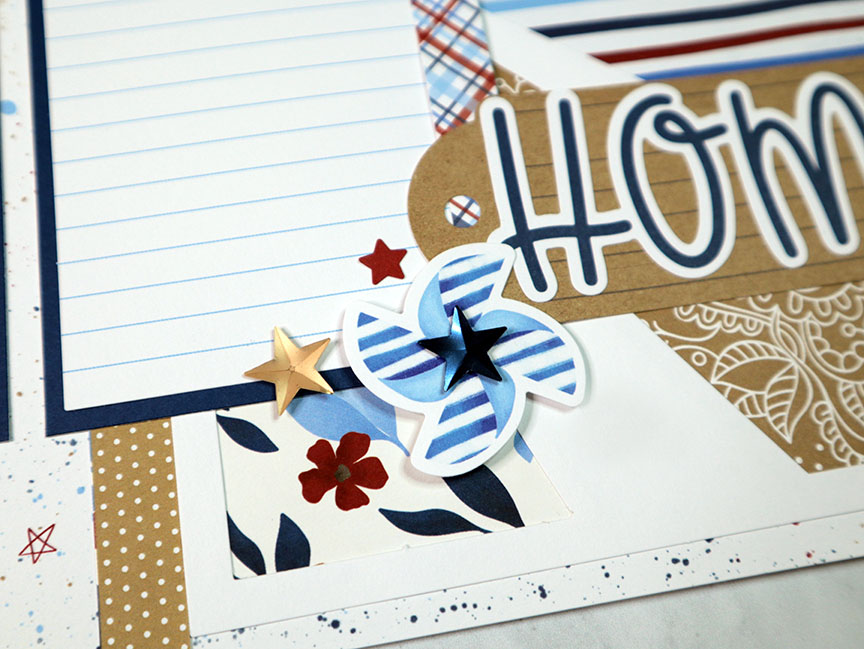
Step 4 - Add the medium sticker on top of the large one with adhesive foam tape
Adhesive foam tape or dots help "pop up" the medium sticker from the large one, adding dimension to the cluster.
Step 5 - Add the small sticker
You could also use foam tape for the third sticker. If you think it looks too bulky, then omit it. Nestle the sticker with the other stickers—place it on top of the others or next to them.
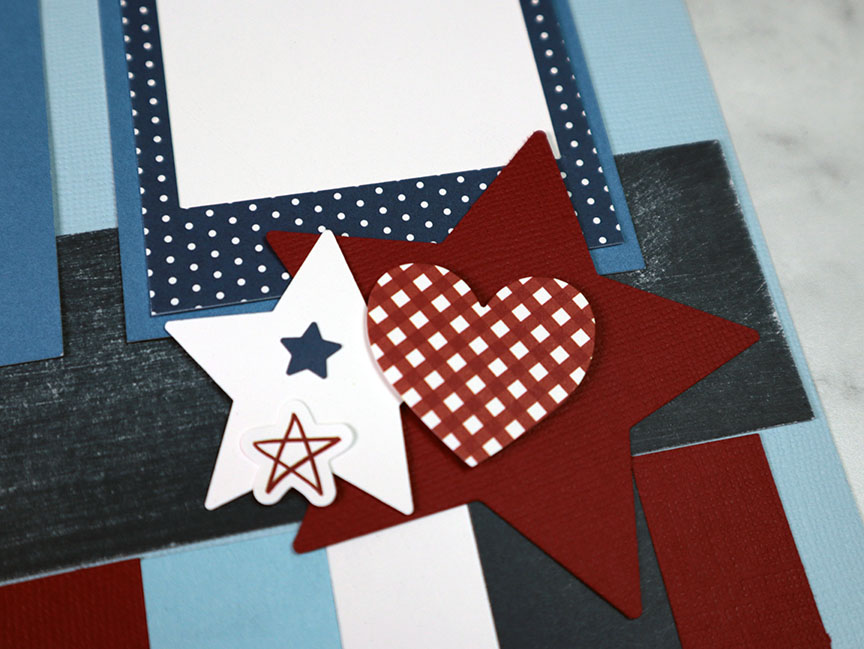
Step 6 (optional) - Add an accent(s) to the cluster
Finally, if you want to get fancy, add embellishments like Liquid Pearls, gems, die cuts, or even smaller stickers on top of the others.
Here are some embellishment cluster examples:
Creating clusters is easy if you follow the steps outlined above. Try out this technique on your next scrapbook layout!