- May 9
Making a Theme Scrapbook Album Without Getting Overwhelmed
- Memory Keeping
- 0 comments
Making a theme album sounds simple until you start gathering the photos, papers, embellishments, stories, programs, receipts, and little pieces you want to include.
Suddenly, the project gets bigger than you planned.
That’s what can happen with trip, event, holiday, or any album project where you’re trying to document a full experience. You start with good intentions, but before long, you’re trying to include everything — every photo, every moment, every detail — and the project starts to feel overwhelming.
For my Craftcation album, I wanted to do something different.
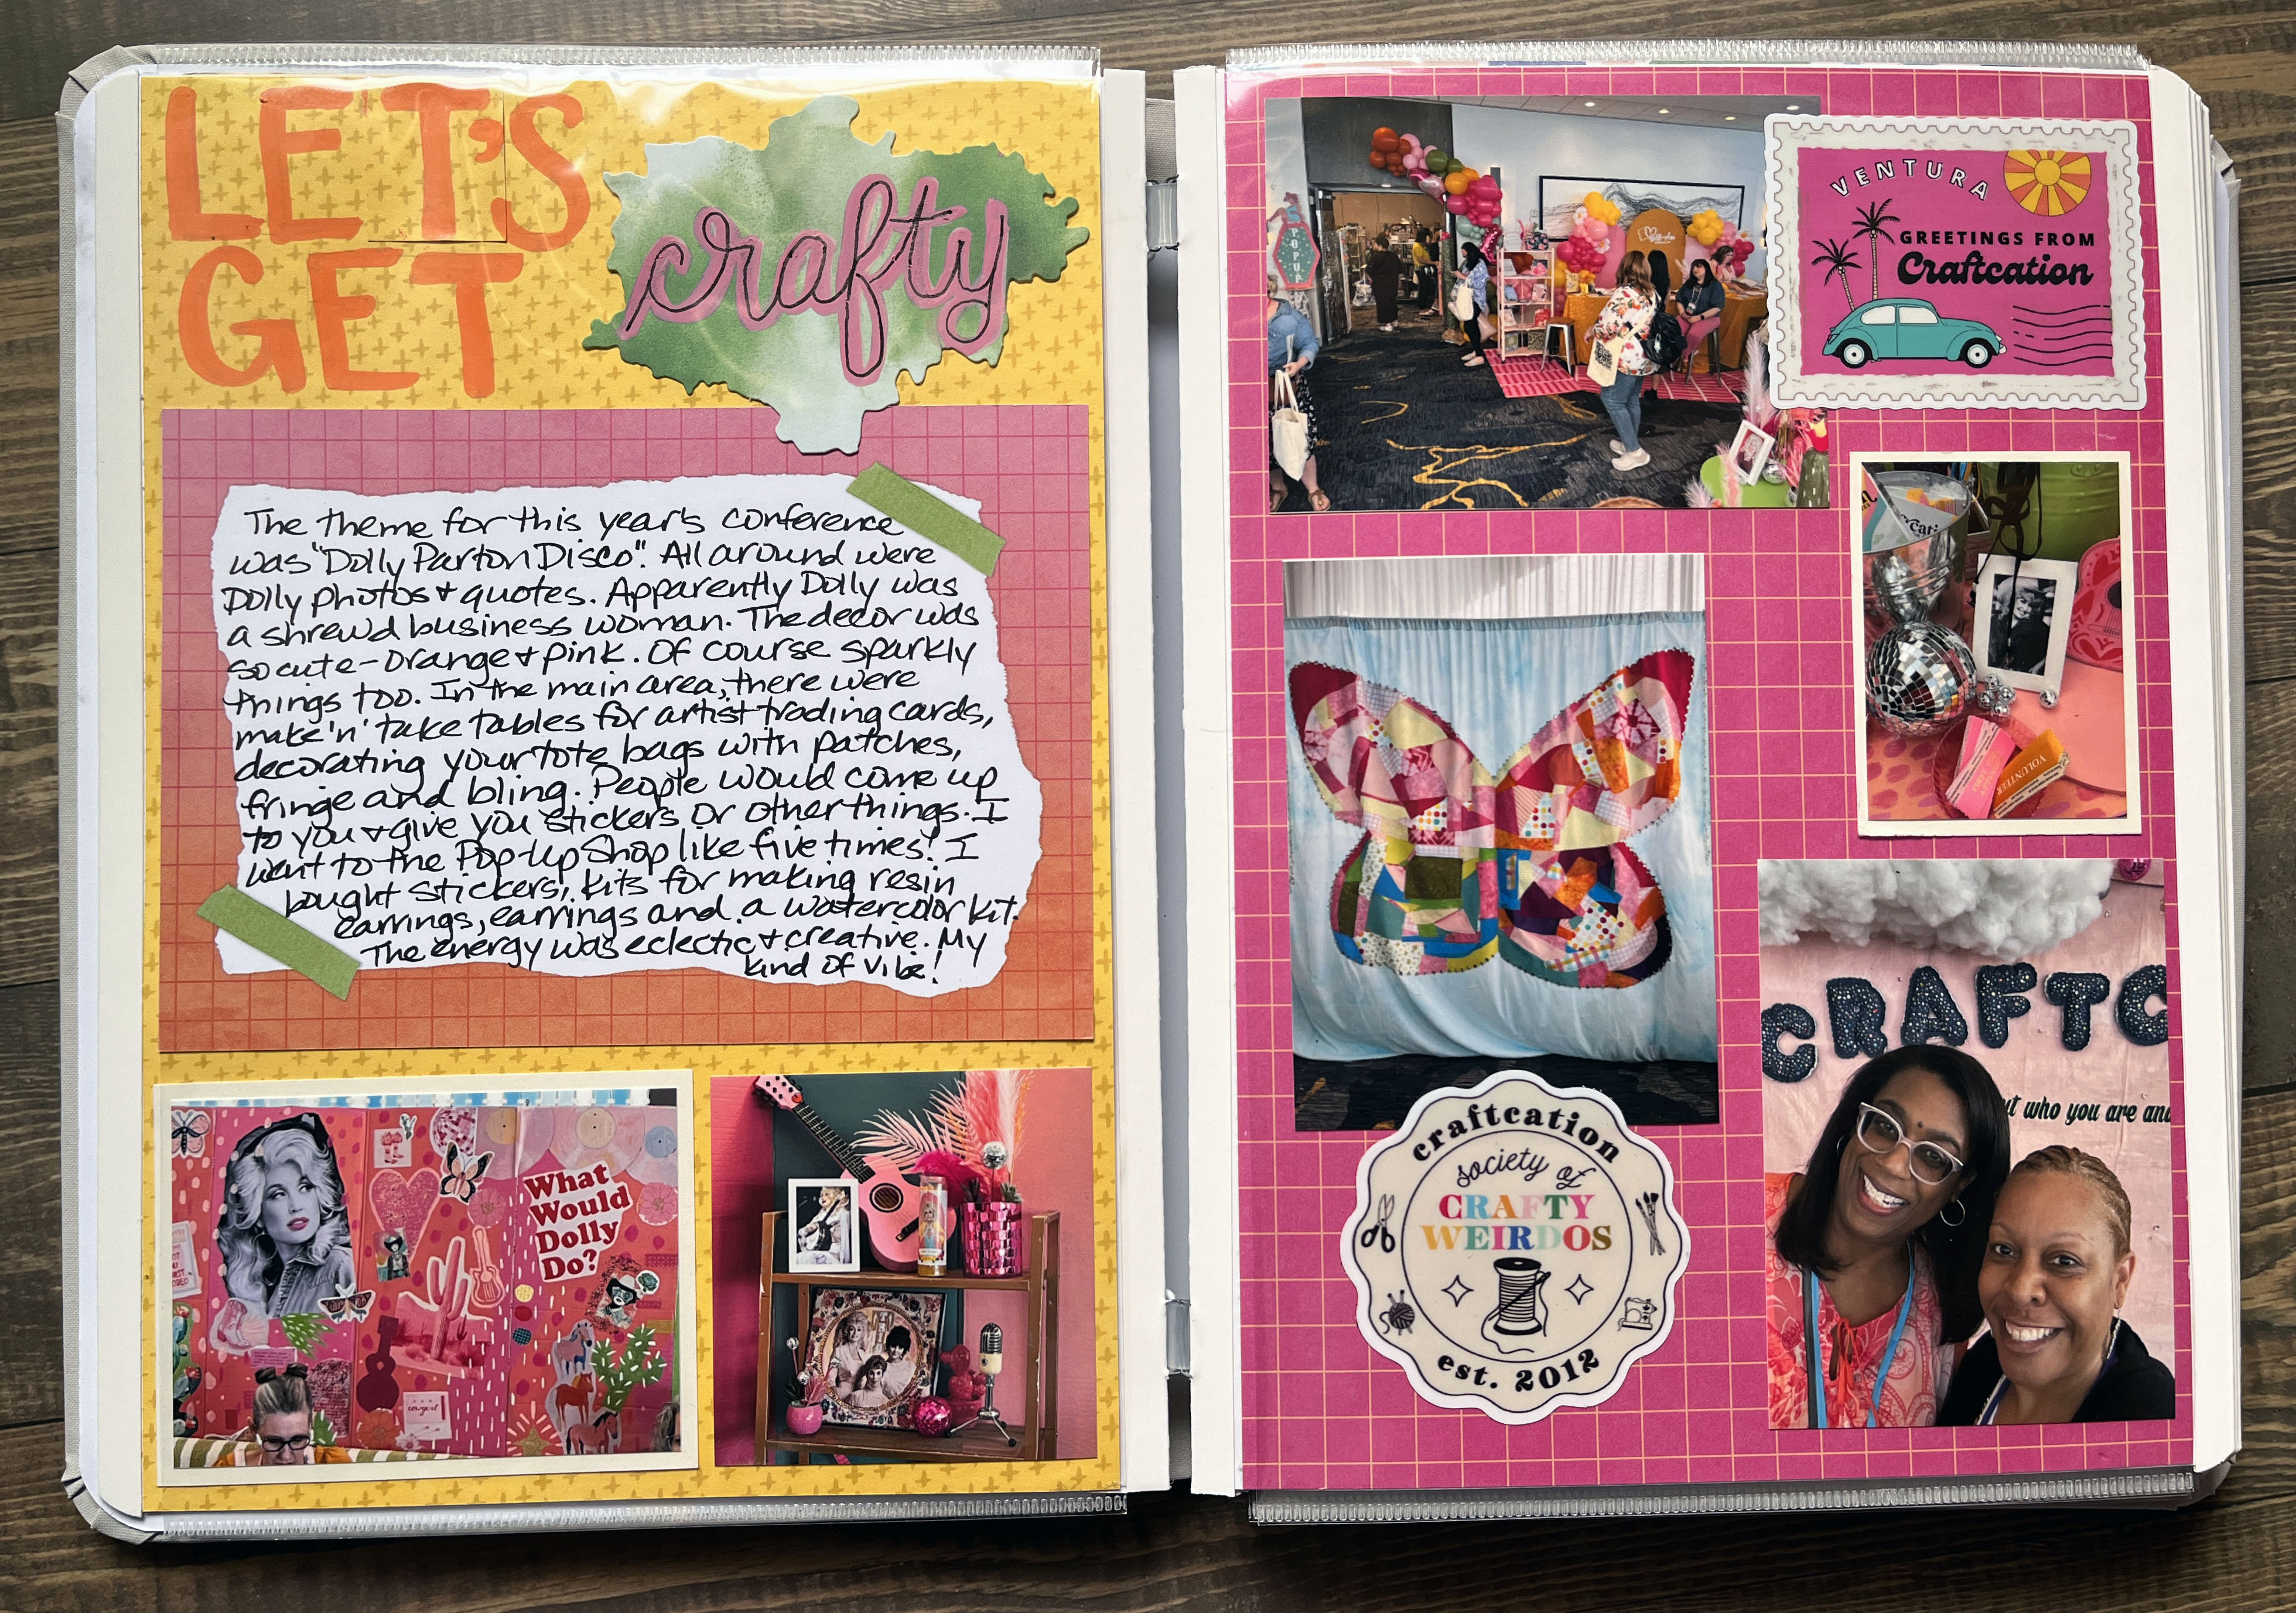
Craftcation is a creative conference in Ventura, California, and I had plenty I could have documented. I was there as both an attendee and a presenter, I taught a workshop, I met other makers, I spent time with a friend, and I came home with photos, notes, memories, and pieces from the event.
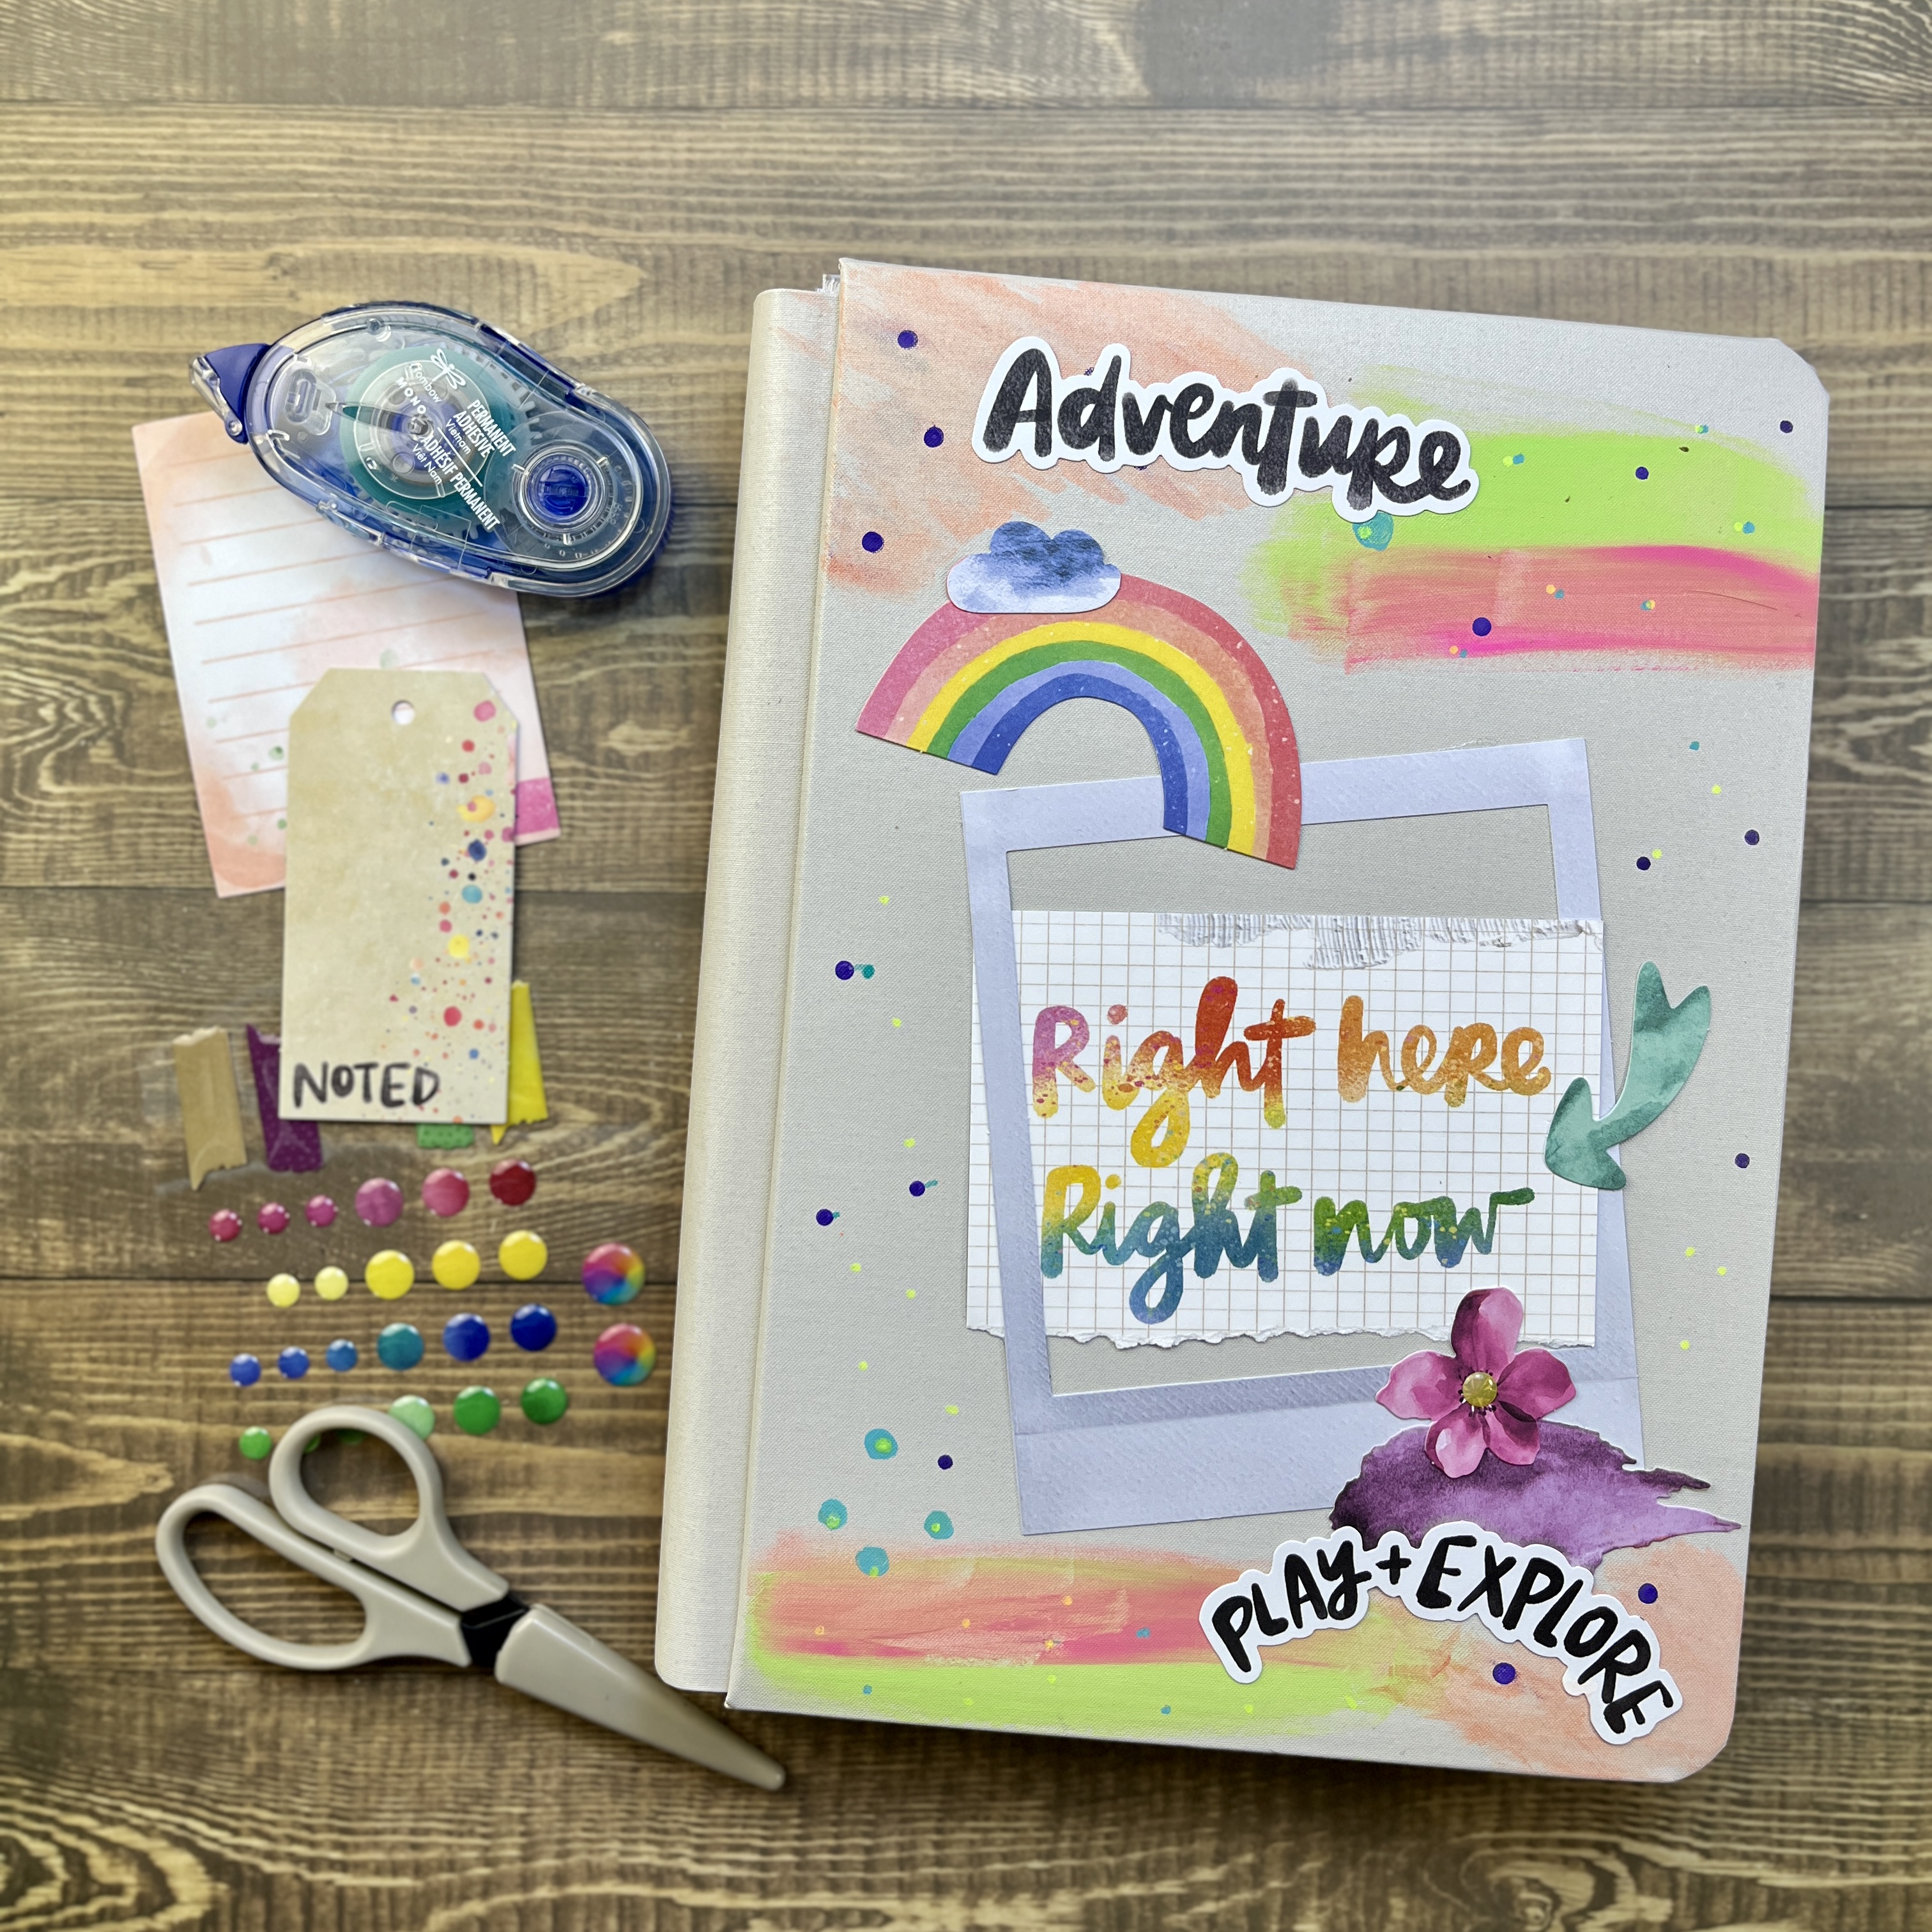
But I knew I didn’t want this album to become a giant production.
So before I started, I made one decision: Keep it simple and narrow the focus.
Start with the story
Instead of trying to document the entire trip, I used prompts to help me decide what the album was really about.
That one step changed the whole project.
The album became less about capturing every single thing that happened and more about documenting the feeling of the experience: creative energy, community, teaching, making, and being around other people who value creativity.
That gave me a filter.
When I looked through my photos, I wasn’t asking, “How do I include all of these?”
I was asking, “Which photos help tell this story?”
That made the project feel much more manageable.
A simple scrapbook album workflow
Once I knew the focus of the album, I used the same basic workflow for each page:
Photos first.
I chose the photos that best represented the story I wanted to tell.
Journaling second.
I wrote the story before worrying too much about decoration.
Background papers third.
Once the photos and words were in place, I added patterned paper and other background pieces.
Embellishments last.
Stickers, ephemera, and finishing touches came after the main story was already on the page.
That order helped me avoid getting stuck in the decoration stage before the album had any real structure.
Of course, I didn’t follow the process perfectly on every page. Sometimes I added a sticker earlier because it made sense in the moment. But having a simple order gave me a place to begin, and that made the whole album easier to finish.
Use supplies as creative constraints
For this album, I used paint markers as one of my creative constraints.
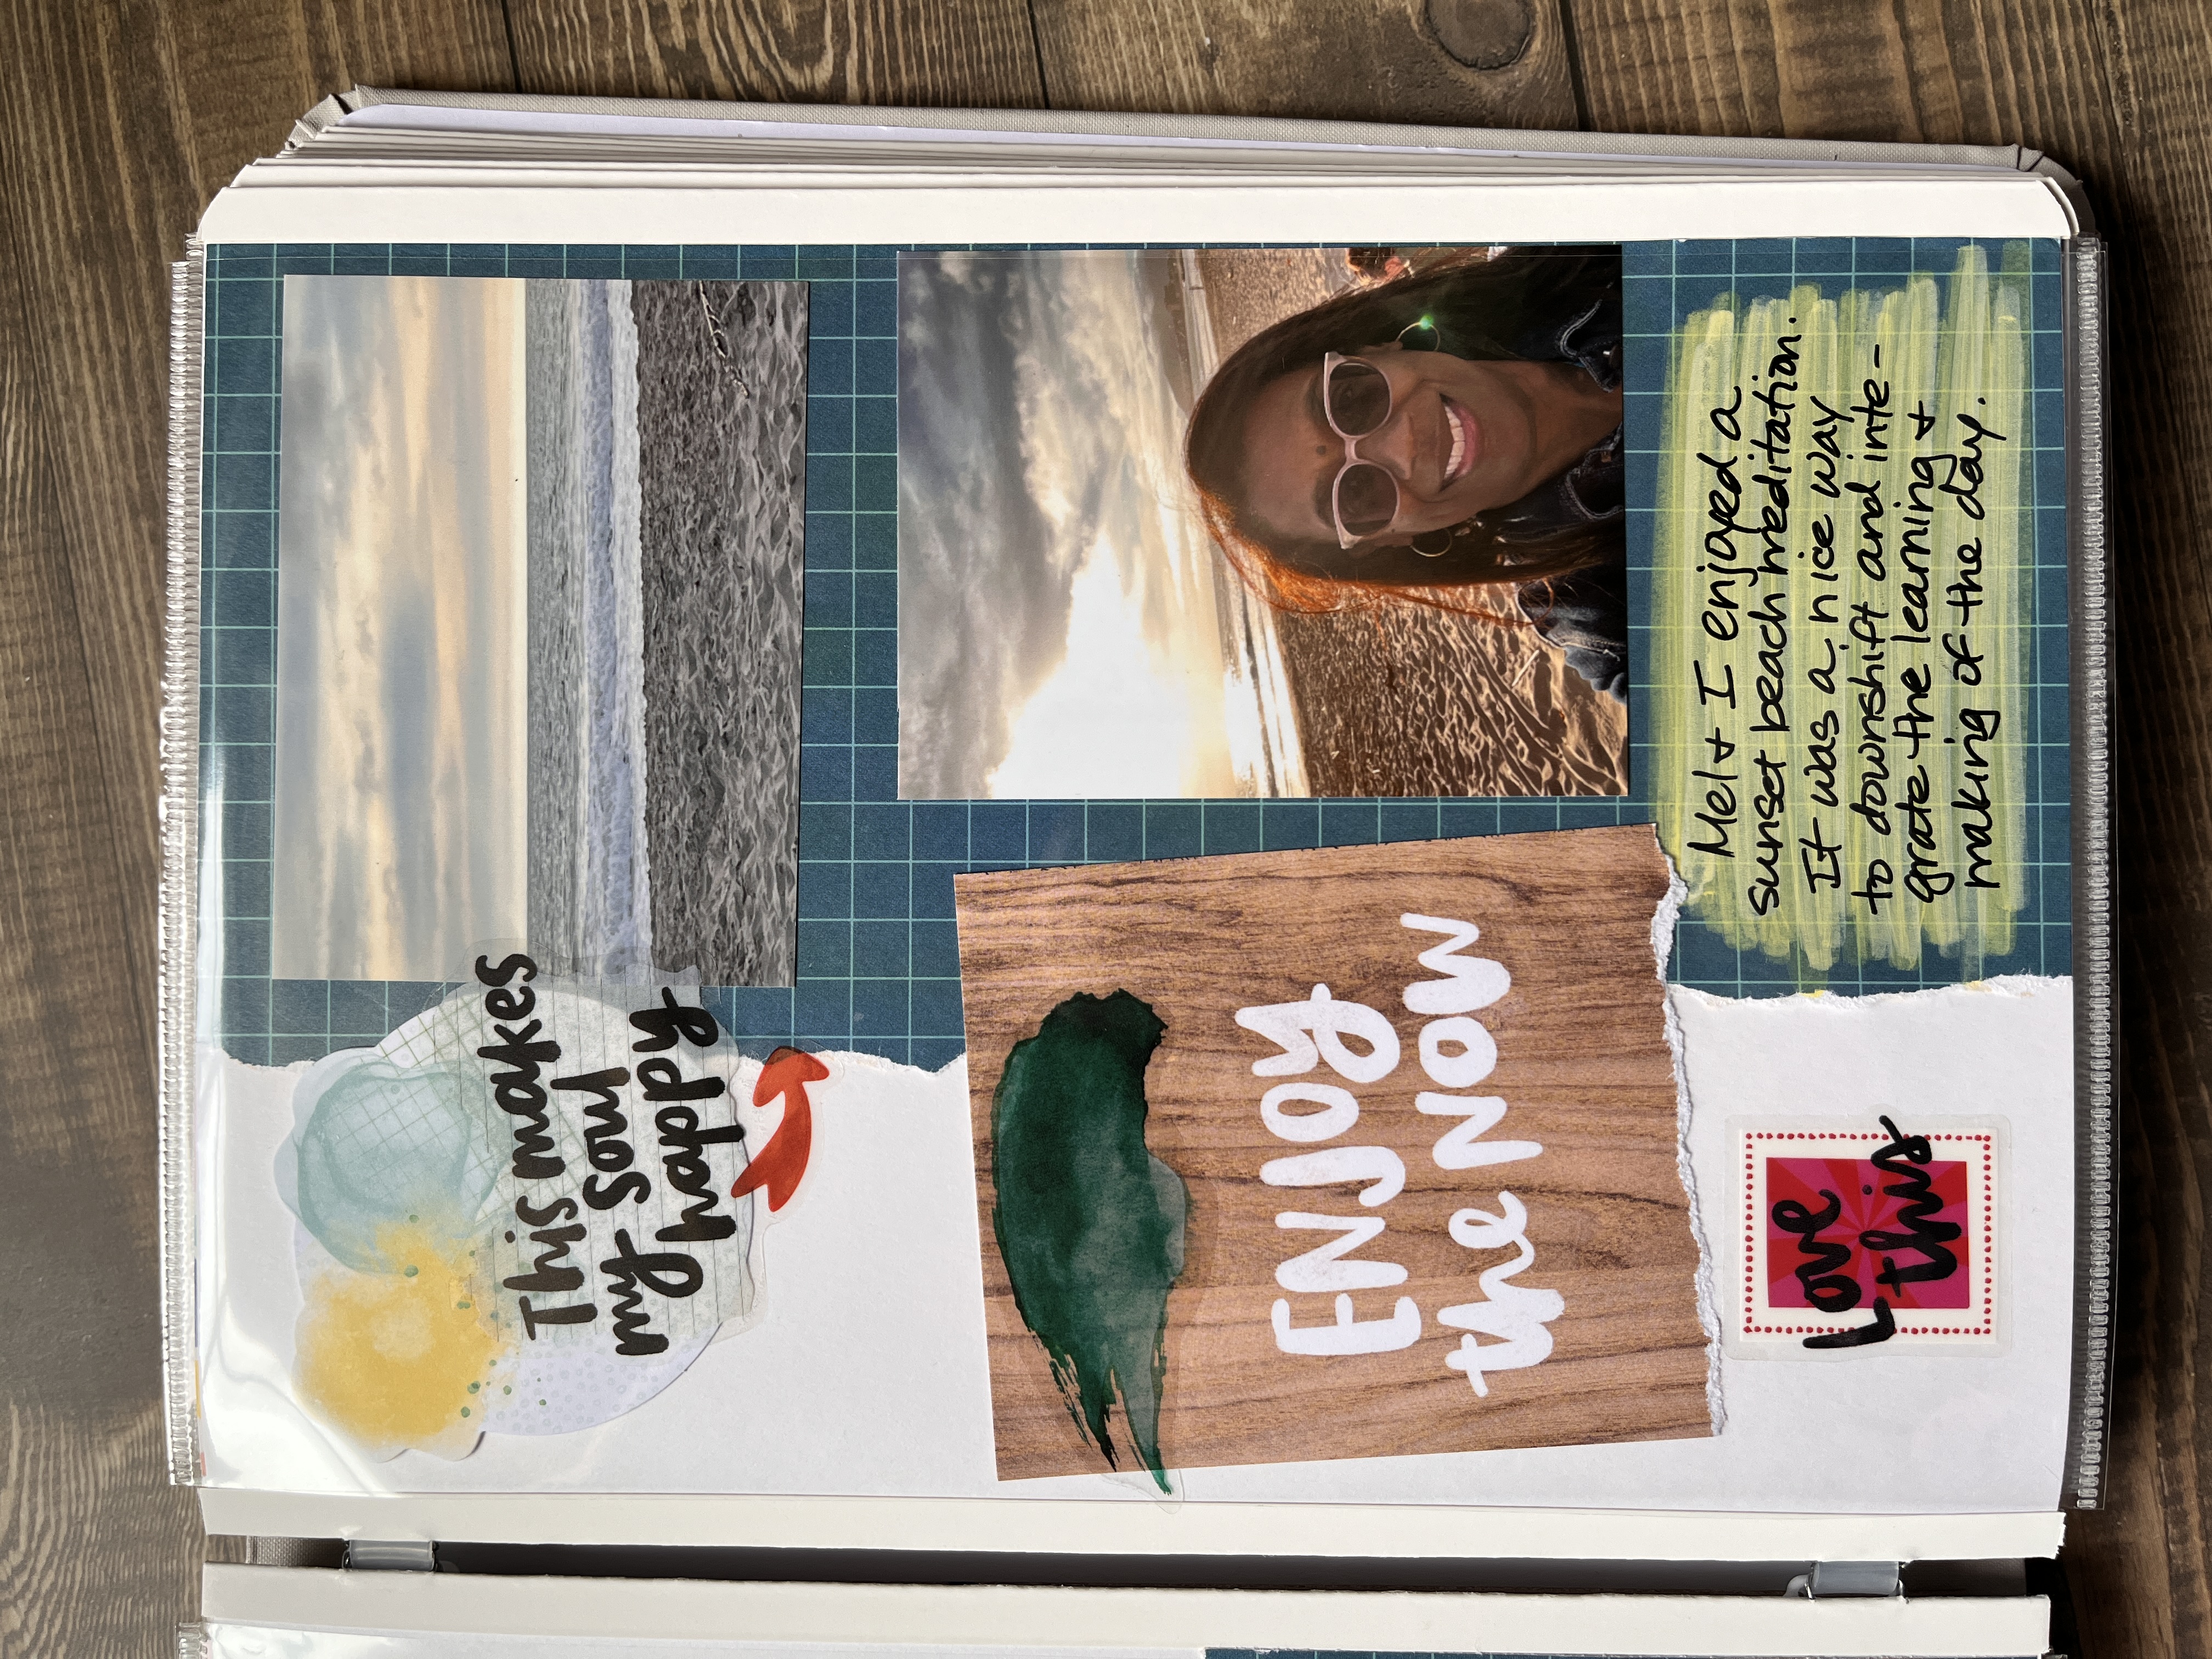
I used them for titles, journaling spaces, small details, and even to add color to patterned paper. On one page, I used a paint marker to create a space for journaling. On another, I colored over dots on the background paper to make them stand out more.
And yes, there was a moment where I thought I had misspelled “Let’s,” covered it up, and then realized I had spelled it correctly the first time.
That became its own little repair job.
But that’s part of making. A mistake doesn’t have to ruin the page. Sometimes you cover it. Sometimes you work around it. Sometimes the fix adds another layer to the album.
Keep it simple
If you want to make a theme scrapbook album, travel album, event album, or mini album, my suggestion is to start by narrowing your focus.
Ask yourself:
What is this album really about?
Then choose the photos, stories, papers, and embellishments that support that answer.
You don’t have to document everything for the album to be meaningful.
You can keep it simple, start with the story, and let the pages come together one step at a time.
Watch this video to see the process in action:
And if you’re interested in prompt-led, freeform memory keeping and creative journaling, I’d love for you to subscribe to the Pages in Progress newsletter.